Managing Accounts
The Accounts page enables a Mitel Partner to view, search for, add, edit, delete, and deactivate all the customer accounts created by that Partner. To access this page, the Partner must click the Accounts option from the navigation menu in the left side of the Mitel Administration Dashboard.
Add an Account
To add a new account, click the Add Account button. Enter the Customer Name, Country, Address, City/Town, and Postal/Zip Code of the customer. Choose the Default Language for the account, and assign Support Contacts. Click Save.
View Accounts
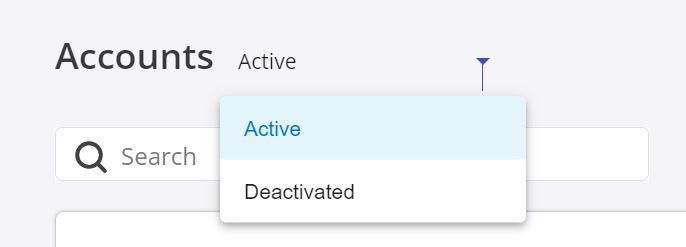
Click the down-arrow above the Search bar in the Accounts page, and from the drop-down list, select to view a list of active accounts or deactivated accounts by clicking, Active, or Deactivated respectively.
Search for Accounts
In the Search bar, type the name of the account you are searching for. The search field displays a list of matching account names as you type the letters.
Edit an Account
To edit the details of an account, click the account and edit the account details in the Account Information page that appears.
Click the ![]() icon at the bottom right to save the changes.
icon at the bottom right to save the changes.
Deactivate an Account
The Mitel Partner can deactivate an account. Click the Account option from the left navigation menu, select the account from the Accounts page. Click the Deactivate button from the Account Information page that opens. A pop-up screen appears. To continue to deactivate the account, type the word “deactivate” in the text box and click Deactivate.

When you deactivate an account, the users in that account will no longer be able to sign in to Mitel Administration or use any CloudLink applications.
Delete an Account
To delete an account, select the account from the list and click the Delete button. A pop-up screen opens. To continue to delete the account, type the word “delete” in the text box that appears and click Delete.
Reactivate an Account
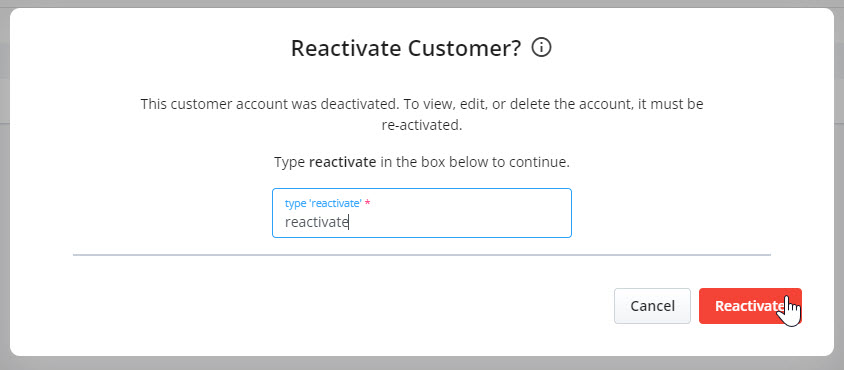
The Mitel Partner can reactivate a previously deactivated account. To do so, in the Accounts page, select Deactivated using the down arrow, see View Accounts. Select the deactivated account from list of deactivated accounts in the Accounts page. A pop-up screen opens. To continue to reactivate the account, type the word “reactivate” in the text box that appears and click Reactivate.
When you reactivate an account, the users in the account will be able to sign in and access all the CloudLink applications and services. Also, the account will be listed in the CloudLink Gateway portal.